Rendered at 08:03:34 10/19/25


Sign up and get $15.00 bCredits free to use at checkout and another $5.00 bCredits when you make your first purchase. More info
Commodore 1084 1901 Replacement Power Switch Magnavox 8CM515 Philips CM8833 +
€11,12 EUR
Sign up and get $15.00 bCredits free to use at checkout and another $5.00 bCredits when you make your first purchase. More info
Los buques de
United States

Share & earn! Sign in, share this or any listing, and you’ll get commission when it sells.
Learn more
Las opciones de envío
Estimado para llegar por Mon, Nov 10th.
Detalles
Calculado por USPS en ES.
Los buques de
United States
La política de devoluciones
Refunds available: See booth/item description for details
Detalles
Protección de compra
Opciones de pago
PayPal accepted
PayPal Credit accepted
Venmo accepted
PayPal, MasterCard, Visa, Discover, and American Express accepted
Maestro accepted
Amazon Pay accepted
Nuvei accepted
Rasgos del artículo
| Categoría: | |
|---|---|
| cantidad disponible: |
90 En stock |
| Condition: |
New |
| Type: |
Monitor |
| Brand: |
Commodore |
| Compatible Brand: |
For Commodore |
| Country/Region of Manufacture: |
China |
| Seller Notes: |
“Newly Made in Phoenix, Arizona USA” |
| Vintage: |
Yes |
Detalles del anuncio
| Las políticas del vendedor: | |
|---|---|
| Envío de descuento: |
No ofrece el envío combinado |
| Publicado en venta: |
Más de una semana |
| Artículo número: |
1767726650 |
Descripción del Artículo
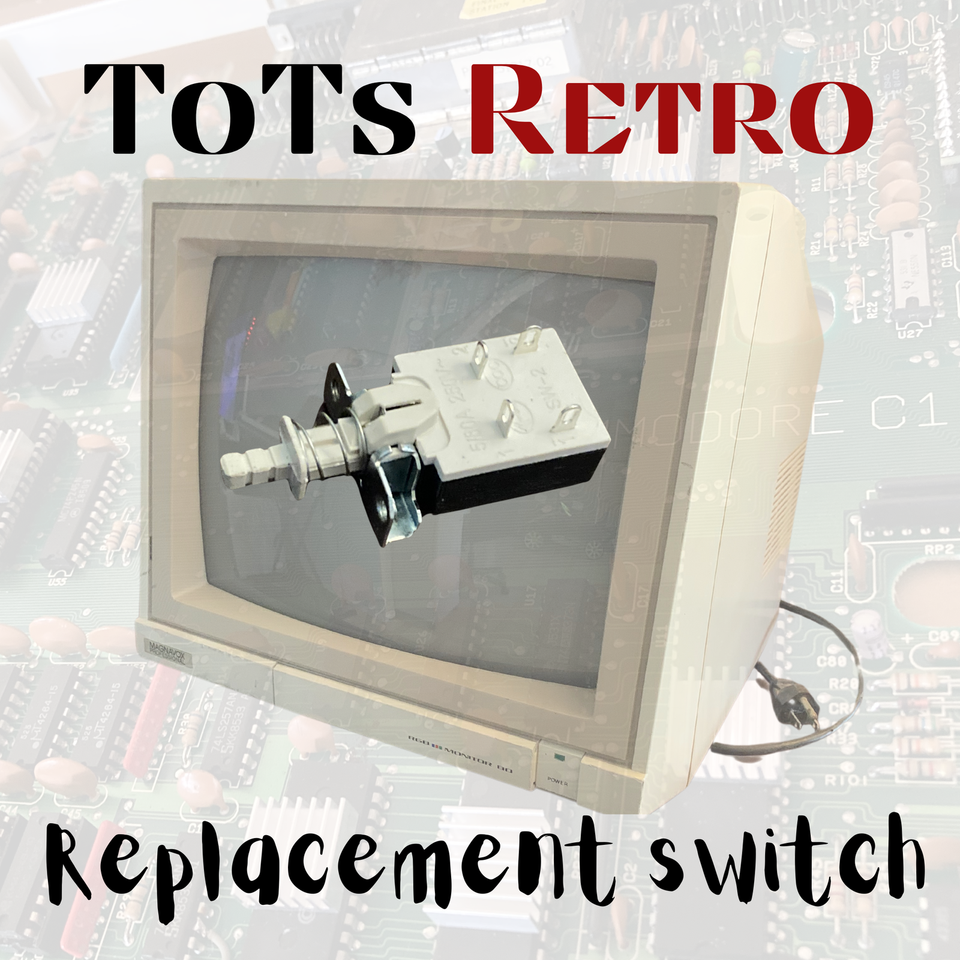
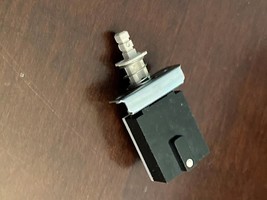
Commodore 1084 1901 Replacement Power Switch Magnavox 8CM515 Philips CM8833 +
ToTs RETRO
Commodore 1901, 1084, 1084s Philips CM8833, Magnavox 8CM515 (clone 1084) , Atari SC1435, Acorn AKF-17 and more…
For Use with Commodore 64 64c Commodore 128 128D Atari, Acorn and more….
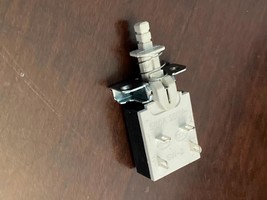
Why pay 25 + plus dollars and $15+ International Shipping. Or why pay anything over $12.99 (not including fixed shipping of $3.99) no matter where you are in the USA. I was looking for a switch to repair my Retro Magnavox 8CM515 so I could use my Vintage Commodore 128 in 80 column mode again….and was outraged by the price gouging going on. So outraged I decided to do something about it. Here is an Alternative Choice you’ve been waiting for! This switch solders on just like your old one no additional mount needed . I will also include some heat shrink tubing for you, so that you can keep your solder joints safe.
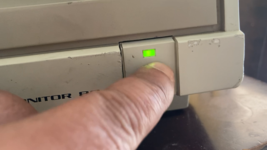
Fix your Vintage Retro Monitor without having open heart surgery on your wallets.
Specs
TV-5 AC 125v/250v 5A/80A DPST self locking Push Button Switch
Instructions
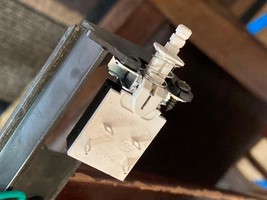
1a- disconnect power, remove screws and slide case back
1b- slide the board with the switch back and desolder the old switch. (there is a plastic stop under the monitor... push up on the black stop to release the board)
2- remove the old switch
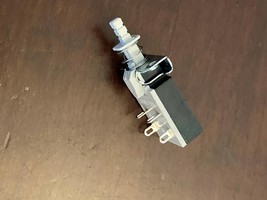
3- mount the new switch with the white side facing up.
4- connect the screw farthest left of the switch only, the one closest to the tube, this will help you align the switch easily. DO NOT CONNECT THE SECOND SCREW CLOSEST TO YOU
5- place the shrink wrap on the wires moved back a bit so they don’t shrink while you solder do this first for each wire.
6- Solder each wire on in the same order they came off and when completed heat the shrink wrap to make a good seal
7- Gently bend the pins back (if necessary) a bit and towards you. be sure the heat shrink is already applied
8- pull off the main power switch cap to help you see alignment of the switch as you slide the component back into place
9- these plastics can be a little tricky so take your time.
10- one the board is back in place test the switch for good movement make sure it’s disconnected from power, you can use a wood stick in the bottom bezel that’s a similar diameter or a screwdriver
11- the led likes to come off the main switch , now is a good time to get a little glue if you need to on the PCB board and switch button. Slide the button cap back in place with its spring. You are all ready to go . ENJOY!
Added to your wish list!

- Commodore 1084 1901 Replacement Power Switch Magnavox 8CM515 Philips CM8833 +
- 90 in stock
- Handling time 2 day. Estimated delivery: Mon, Nov 10th
- Returns/refunds accepted
Get an item reminder
We'll email you a link to your item now and follow up with a single reminder (if you'd like one). That's it! No spam, no hassle.
Already have an account?
Log in and add this item to your wish list.